
How to safely uncover, inspect, and restore original wood floors hidden beneath decades of old carpeting.
If you just bought an older home in the Burlington area—or you’ve been living on top of worn, decades-old carpet wondering what’s underneath—you might be sitting on a goldmine. Back in the day, high-quality oak or pine floorboards were standard, only to get covered up by wall-to-wall carpeting in the ’70s or ’80s.
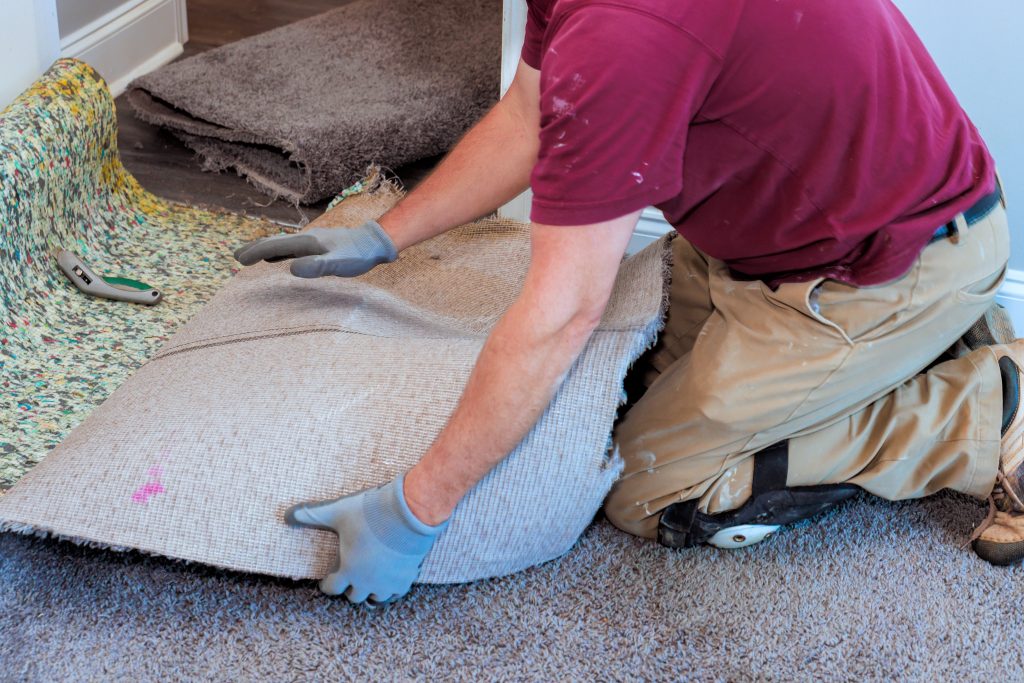
Pulling a corner of that carpet and spotting real wood is an exciting moment. But pulling carpet, finding hardwood, and turning those hidden boards into a smooth, stunning focal point takes a steady hand and a clear plan.
Learn how to safely uncover, inspect, and restore your hidden hardwood floors.
Step 1: The Floor Prep Work Nobody Likes (Tacks, Staples, & Adhesive)
Ripping out carpet is the easy part. The real test of patience comes immediately after: dealing with hundreds of rusted staples, sharp tack strips along the baseboards, and sometimes thick yellow adhesive or rotted carpet padding stuck to the grain.
- Pry with Care: Tack strips need to be pried up gently using a flat bar. Pry directly over the nails to avoid gouging the wood underneath.
- Pinch Every Staple: Pulling pad staples one by one with needle-nosed pliers or a specialized staple puller is painstaking, but skipping them will ruin sanding equipment—or worse, rip up slivers of your historic wood.
- Adhesive Scraping: Old glue often requires careful scraping or mild, floor-safe solvents to soften before any sanding tool touches the room.
Step 2: Assessing Structural Soundness Before Sanding
Before falling in love with the idea of a fully refinished floor, you need an honest evaluation of the wood’s condition. Not every hidden floor is ready for prime time without a little repair work first.
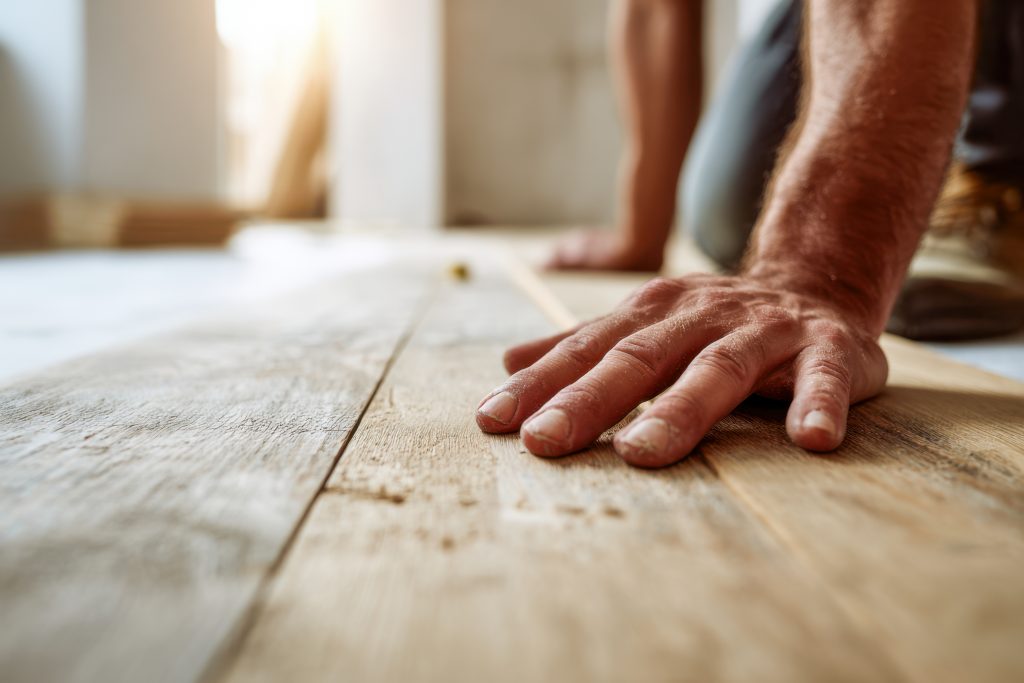
Here is what we look for during an initial inspection:
- Wear Layer Thickness: Has the floor been aggressively sanded five times by previous owners? We measure the depth above the tongue-and-groove joint to make sure there’s enough wood left to sand safely.
- Pet Stains & Water Damage: Dark, localized black spots often mean liquid soaked deep into the grain. Sometimes these can be sanded out; other times, individual boards need to be selectively replaced with matching historical timber.
- Subfloor Stability: Squeaks, soft spots, or warped planks need to be secured and leveled before applying any fresh stain or protective finish.
Step 3: Bringing the Character Back to Life
Historic hardwood has a character you simply can’t buy at a big-box store—deep grain patterns, rich natural patina, and tight wood rings from old-growth timber.
Refinishing these floors isn’t about slapping on a quick coat of polyurethane. It’s about careful, progressive sanding passes to flatten the surface without removing unnecessary wood thickness, followed by fine detailing around edges and doorways. Finishing with a durable, low-VOC seal protects the wood’s natural warmth while raising your home’s value for decades.
The Takeaway: Is Your Hidden Floor Ready to Restore?
That old carpet isn’t just an eyesore—it’s a protective cover for a feature that can completely transform your home.
Whether you are mid-project or just thinking about pulling carpet and finding hardwood, you can explore our full range of hardwood floor restoration services to see how we handle historic wood. For more home preservation tips, check out the National Wood Flooring Association guidelines on wood floor care.
Ready to rip up that old carpet and see what’s underneath? Text Mark at 781-314-7507 for an honest assessment of your hidden floors.